Backup disk by cloning using Clonezilla
Backup hard disk by cloning or imaging it using Clonezilla. The disk image can be saved into an external drive, samba share, AWS S3, and several other options.
Problem
Hard disks may fail abruptly with or without warning. Warning may come in the form of unusual noise or via S.M.A.R.T. data indicating a non-zero “Read Error Rate” or “Reallocated Sector Count” value, just as a few examples. Bottom line is anything that has wear and tear are bound to fail with time as a variable.
Assuming zero fault from the hardware, sometimes application or operating system updates may potentially crash the system sending it into a non-bootable state. Problems caused by software tend to give more problems than hardware, at least for me.
Solution
Overview
One way to overcome the said problems is by cloning the hard drive into an image. These clones can be saved as chunks of files on an external drive, a samba share, AWS S3, and several other options that Clonezilla already support.
Cloning vs. cloud storage
TL;DR: both are useful in solving different problems.
I assume that most people value their personal documents, photos, etc. These should be stored locally on disk with real time synchronisation to your favourite cloud storage. This is important because, unless you clone your disk every second, files that were created or updated after the last clone was made will no longer be present after restoration.
The use case of disk cloning is to revert to a snapshot where the system was healthy. If you have installed system updates after the last clone was made, you could simply reapply the updates or if the updates were the cause of destruction, you could postpone the update until a fix gets released.
How often to clone
My recommendation is, before a major upgrade of the operating system, otherwise monthly.
Pre-requisites
The tool that I am recommending is Clonezilla. I am using the Clonezilla Live USB Alternative stable version.
Cloning steps
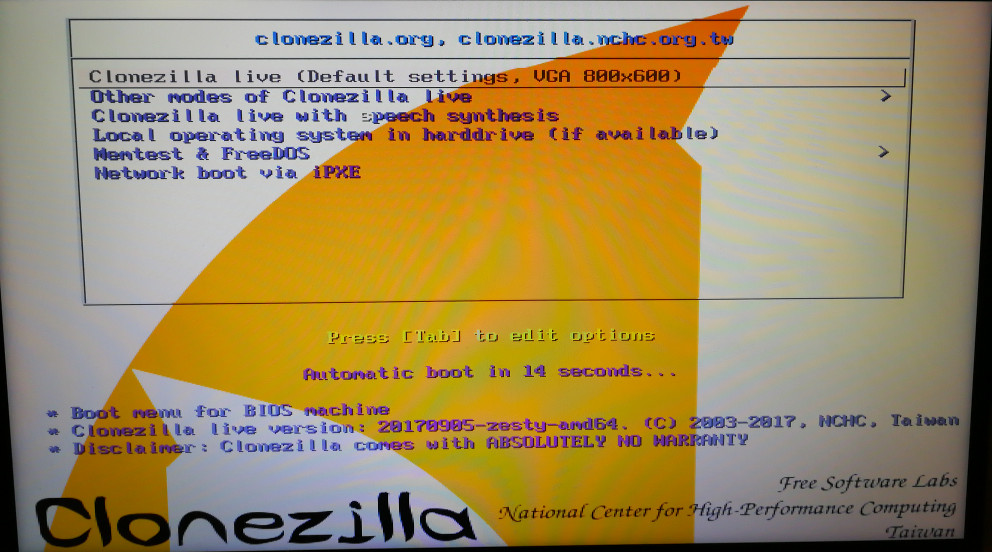
Burning live CD is out of date. Besides new laptops may not have optical disk readers anymore. I have a 12-year old laptop that could boot from USB so it is likely yours could. Prepare Clonezilla live USB then boot into it. I am using a 512MB thumb drive for this.
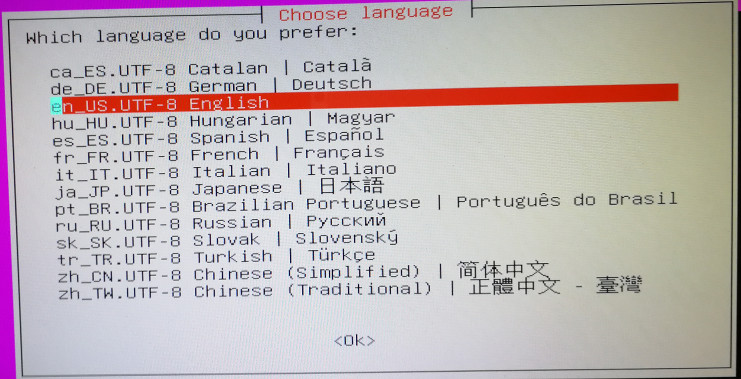
Pick your language.
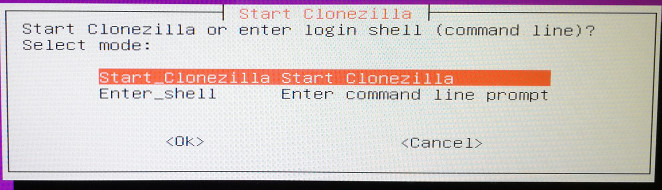
Then select Start Clonezilla.
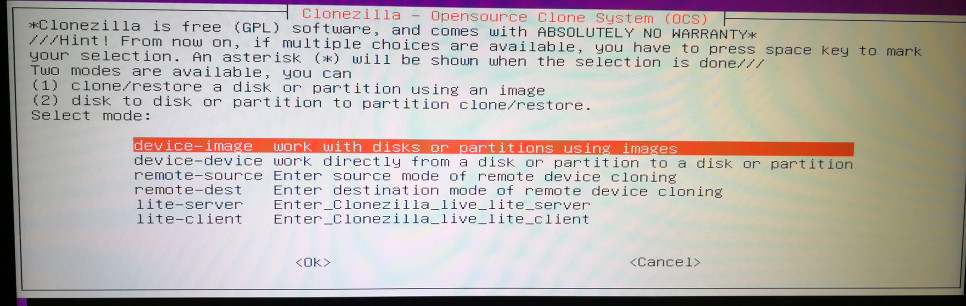
Select device-image mode. This will save a disk as image files.
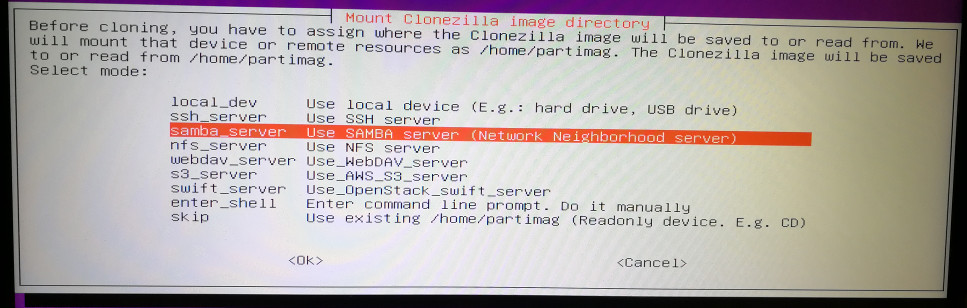
Configure mount options. At at February 2018, Clonezilla supports mounting a hard drive, thumb drive, SSH server, Samba server, NFS server, WebDAV, Amazon AWS S3 and Swift. In my case, I prefer saving to a Network-attached Storage (NAS). SMB version 1.0 to 3.0 are supported.
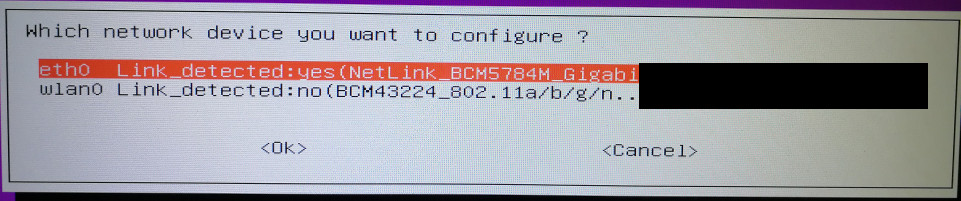
Select network device to use. Obviously cable for better performance.
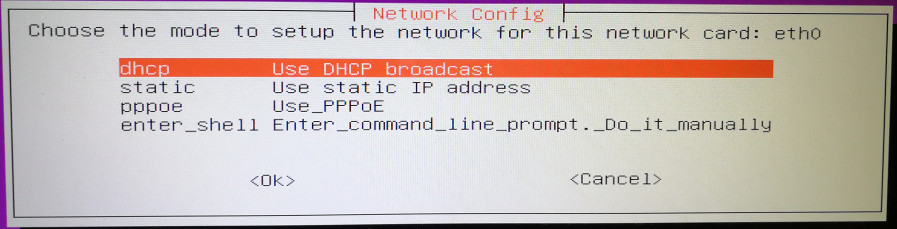
Configure network. If you have a router, dhcp should work for you.
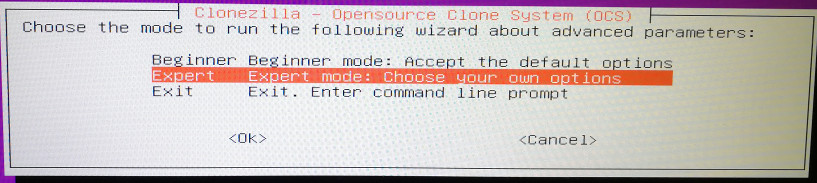
Fewer questions ahead or more? I will walkthrough the Expert steps below.
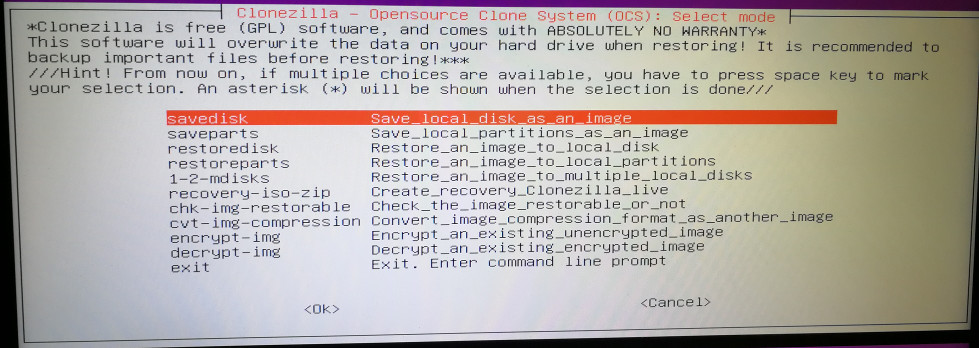
Select savedisk. This will save all of its partitions.
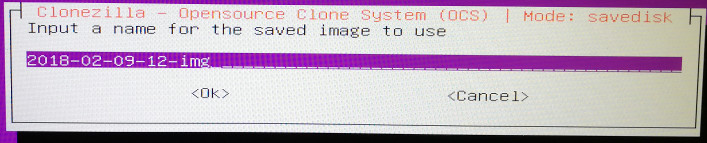
Default file name is in the format of yyyy-MM-dd-HH-img.
Choose the local disk to clone as source. In my case, I have just one source.

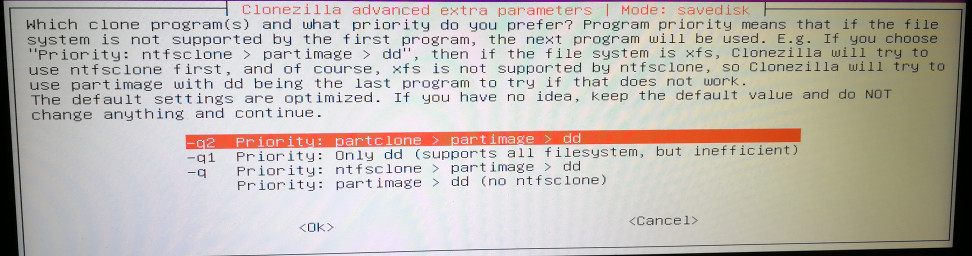
Select the clone program(s) to use. The default option should be fine as Clonezilla will determine which program to use. Partial disk cloning is possible if the disk does not have full disk encryption. This means only used spaces are cloned. That being said, stick to the default if unsure.
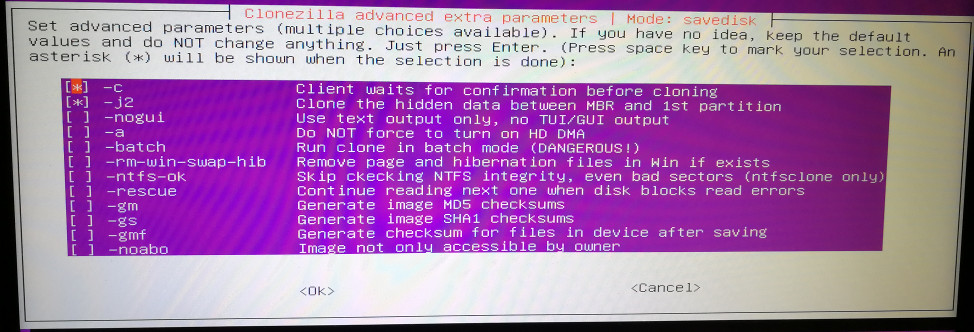
Then comes the advanced options. For example, if you are on Windows, you have the option to remove page and hibernation files to reduce image size.
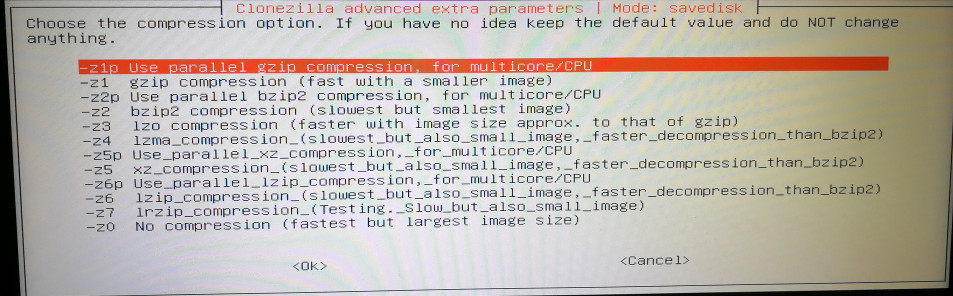
Select compression option to use. GZip should be able to provide decent space savings without putting a large overhead on cloning time. If you have a modern fast CPU, you could opt to save storage space by using a stronger compression such as LZMA. If you are in a hurry, LZO works best. If you are using full disk encryption, compression should be disabled as it will not help.
Chunk size to use. Good idea to not exceed 4096MB even if you are not saving the image to a FAT32 partition.

If your source disk has no problems, you may skip checking/repairing source file system.

Like the old days of burning to CD/DVD, there is an option to check the saved image to ensure that it is restorable. If you are unsure or do not trust the destination medium, select Yes.

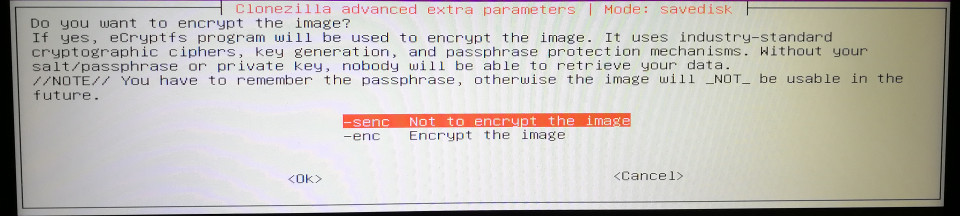
Encryption is optional. If you care about security and if the disk is not already encrypted, you may want to consider encrypting the image but you would have to remember the passphrase used. In my case, the destination medium is encrypted thus I opt out of this. However, if someday I want to upload the clones to a cloud storage, I would enable it.
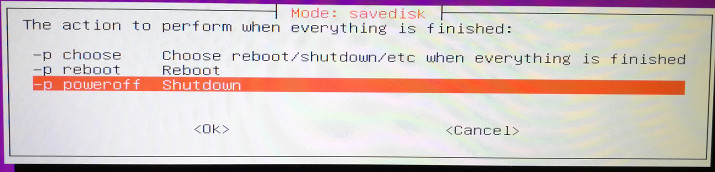
Since I run this overnight, powering off automatically after completion makes sense.
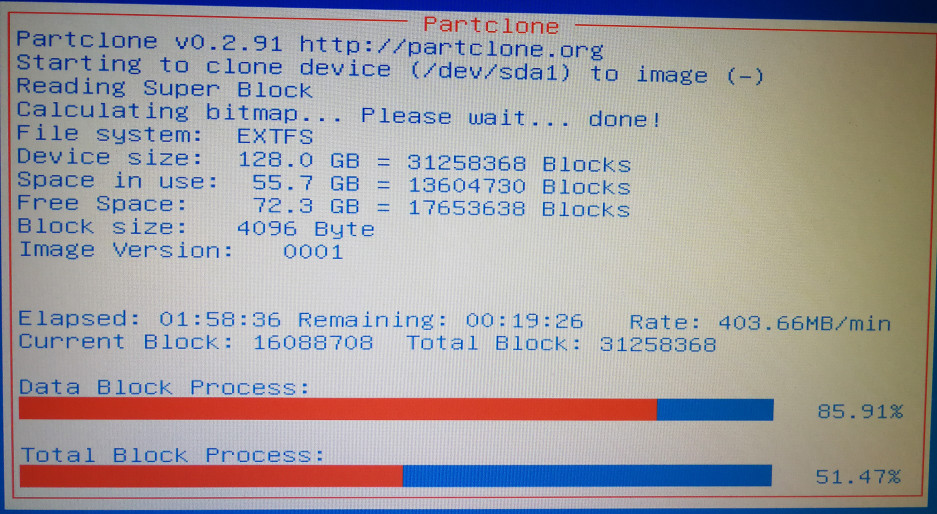
Finally, progress bar and status.
Restoration
This should be fairly straight forward if you have already been through the cloning steps. Instead of selecting savedisk at the beginning, choose restoredisk.